
Tripods On A Plane: Navigating TSA Checkpoints Like a Pro
This article may contain affiliate links to trusted partners, which help run this site at no extra cost to you.
Planning a trip and wondering, “Can I take a tripod on a plane?” The good news is—it’s possible and can be simple with a few key steps! Bringing camera equipment like a tripod in your carry-on ensures it’s safe and accessible. Whether you’re a professional photographer or just someone who loves capturing travel moments, this guide will walk you through TSA guidelines, airline policies, and a few packing tips so you can have a hassle-free travel experience with your gear. Let’s dive in.

Key Takeaways
- TSA & Airline Policies: TSA & Airline Policies: You can take tripods on a plane. Learn essential TSA and airline rules for carrying tripods to avoid delays.
- Carry-On vs. Checked: Discover why carry-on is often better for camera gear and when to consider checked luggage.
- Packing Tips: Get tips on organizing camera equipment for safety and easy access during travel.
- Smooth Airport Navigation: Streamline your security process with gear-ready packing tips.
- Extra Travel Prep: Handy advice on insurance, weight limits, and adapters for worry-free travel with camera gear.
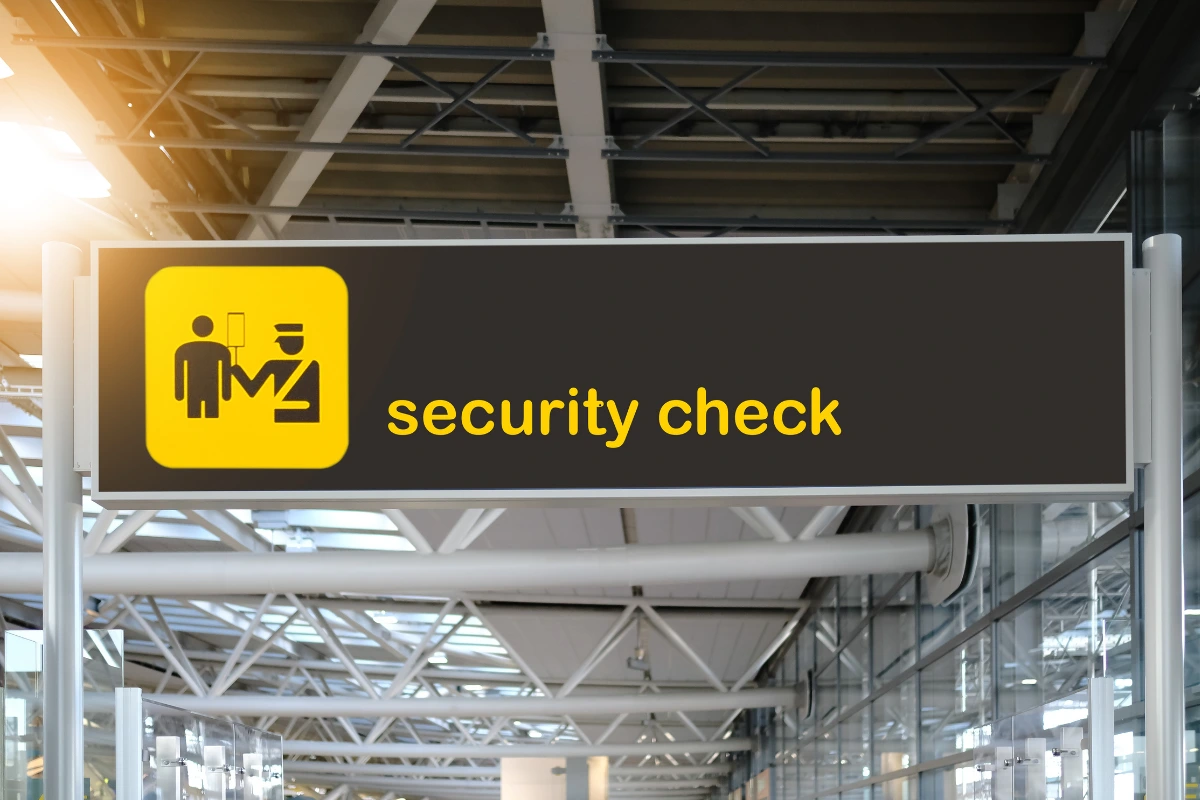
Understanding TSA Guidelines for Tripods on a plane
Carry-On vs. Checked Luggage for tripods on a plane
Navigating TSA rules can make your journey easier. Generally, tripods are allowed in carry-on or checked luggage, but some tips will help ensure smooth passage through security. Knowing these guidelines helps when you’re taking tripods on a plane, as it clarifies what’s allowed and what might need extra steps.
To make security easier:
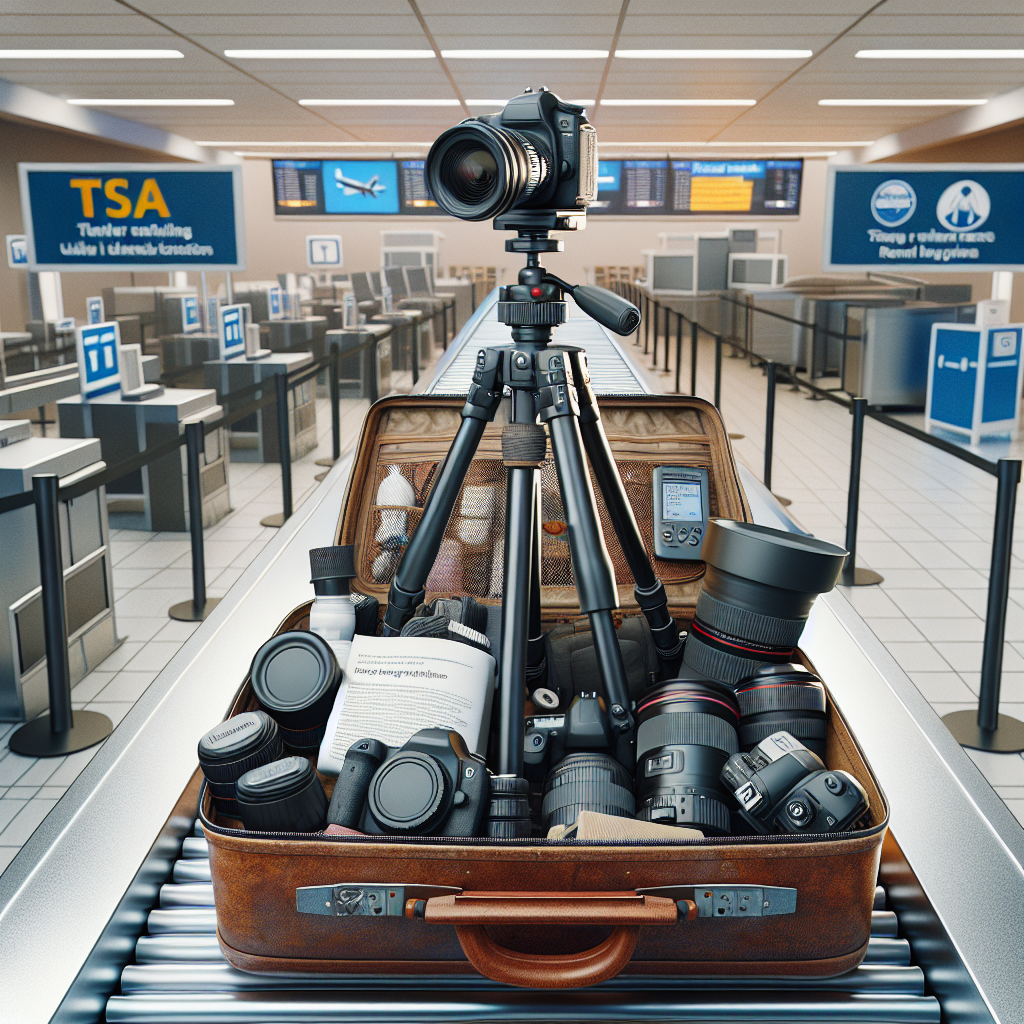
- Placement: Keep your tripod in an accessible part of your bag. Small tripods may stay packed, but larger ones might need to be removed.
- TSA Inspection: Be prepared for TSA to screen your tripod, especially if it’s in checked luggage. A cooperative attitude can help; simply let the TSA agent know it’s camera equipment, which can make the process faster.
By following these tips, you can prevent potential hassles when bringing tripods on a plane.

Preparing for Security Checkpoints
A smooth experience at airport security begins with careful packing. Place your tripod in an easily accessible area, as TSA officers may want to inspect it separately. Smaller tripods often stay in the bag, but larger ones might need removal. Ensure your tripod fits carry-on dimensions and weight limits specific to your airline. Reviewing TSA guidelines before travel also minimizes delays. If a TSA officer needs to inspect your gear, stay calm and cooperative; this approach often resolves any issues smoothly.
Airline Policies and Your Tripod
Policies around tripods vary by airline. Checking with your airline in advance can save you time and prevent surprises.
Check Specific Airline Rules
Each airline has rules on carry-on items, especially for larger equipment like tripods. Visit your airline’s website or contact customer service to confirm current guidelines. For instance, airlines like Delta or American allow certain tripods as personal items if they fit under seats or in overhead bins, while United may also permit small tripods as carry-on items.
Knowing your airline’s specific rules helps avoid unexpected fees and ensures a smoother travel experience.
Size and Weight Restrictions
Tripods come in many sizes. Ensure yours meets carry-on dimensions and weight limits to avoid issues at the gate. Larger or professional tripods might need to be checked, but many travel-sized models fit as carry-on items. Consider using a bag with adjustable straps to compress the tripod for easier stowage in the overhead bin.
Speak to the Gate Agent if Unsure
If you’re uncertain about your tripod’s compliance, asking the gate agent can help. Gate agents can assess your equipment and clarify options if it needs to be checked, which helps avoid fees.
By understanding these rules, you’ll enjoy hassle-free travel with your tripod.
Ensuring Your Tripod Fits
Before heading to the airport, confirm that your tripod meets the airline’s carry-on size requirements. Check your tripod’s dimensions when it’s fully collapsed, including any attachments like a ball head, to ensure compliance. If your tripod is larger, pack it in a bag with adjustable straps to make it fit into overhead bins more easily. Don’t forget about airline weight limits, as they may vary, especially on international flights. Following these steps allows you to keep your tripod conveniently at hand during your travels.
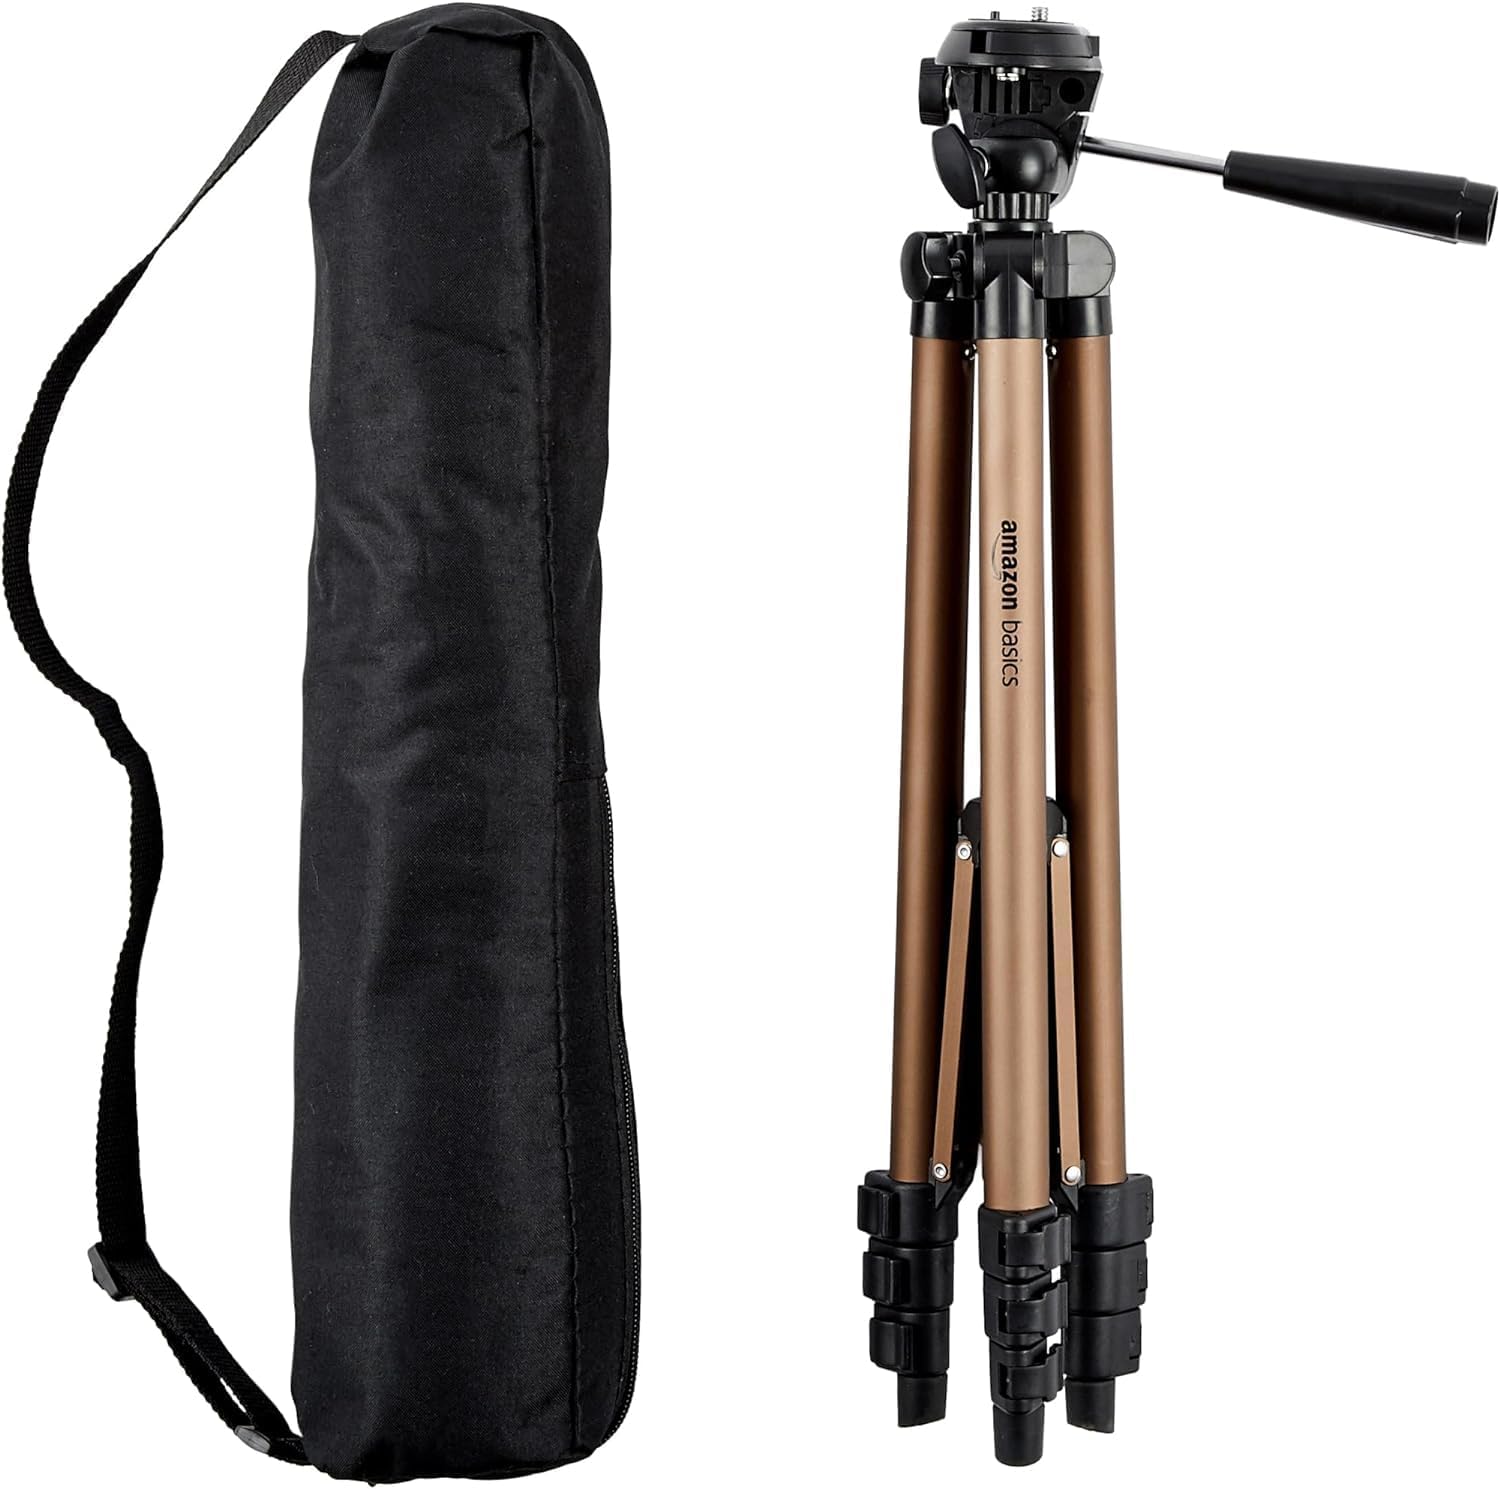
One of the most popular travel tripods on Amazon comes with a tripod bag..
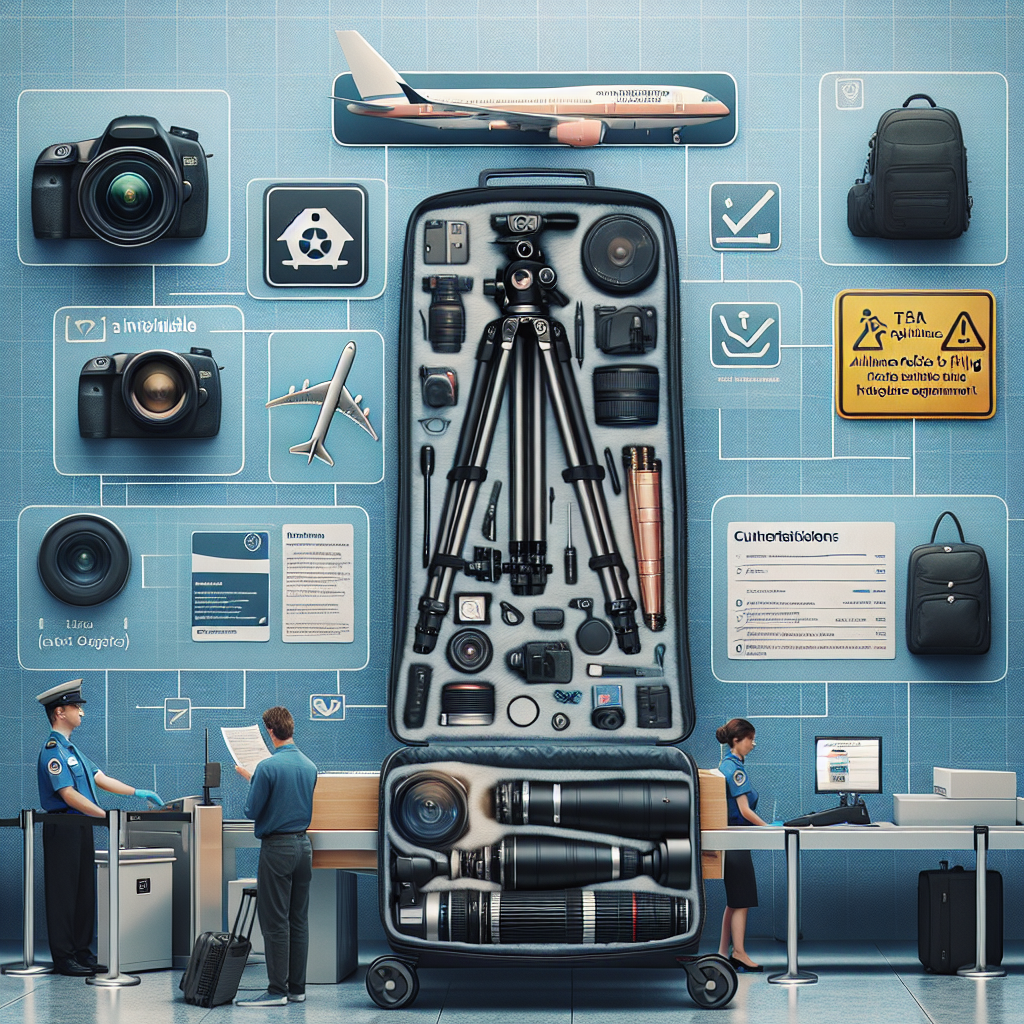
Tips for Hassle-Free Travel with Tripods
Packing and organizing your camera equipment efficiently can make air travel much easier. Here are a few extra tips to ensure your tripod and camera gear make it safely to your destination:
Packing Your Camera Gear Efficiently
Maximize space in your bag and protect your camera gear with these packing techniques:
- Choose the Right Bag: A well-designed camera backpack with a dedicated tripod holder on the side or underneath keeps your gear secure. Look for a backpack with padded compartments for cameras and lenses to prevent damage during transit.
- Separate Small Accessories: Group smaller items, like cables, chargers, memory cards, and extra batteries, in pouches within your bag. This keeps everything organized and prevents items from tangling or getting misplaced.
- Check Airline Weight Limits: To avoid unexpected fees or having to check your carry-on, ensure your bag meets airline weight restrictions. Many carriers have weight limits for carry-on bags, especially for international flights, so it’s worth double-checking before you arrive at the airport.
Navigating Airports with Camera Equipment
Once at the airport, being prepared for each stage of the journey will make your experience smoother:
- Prepare for Screening: Keep your tripod in an easy-to-access spot, as TSA agents may ask to inspect it separately. If you have larger lenses or a camera body, they may also require screening, so grouping similar items together can make this process easier. TSA officers are used to seeing camera equipment, so a quick mention that your bag contains camera gear may help avoid unnecessary handling.
- Choose Secure Storage on the Plane: Once through security, choose a secure spot in the overhead bin or under your seat to stow your bag. If there’s room, place your bag upright in the bin, as this often gives more stability. Stowing your equipment safely during the flight ensures it’s ready to go when you land.
These extra steps help you stay organized, protect your equipment, and ensure a stress-free experience in the airport and onboard.
Extra Tips for Traveling with Photography Gear
If you’re traveling internationally or planning to use your equipment frequently, here are a few bonus tips to consider:
- Invest in Travel Insurance for Photography Gear: Camera equipment can be pricey, and travel insurance for electronics or high-value items can offer peace of mind in case of accidental damage or loss. Look into travel insurance options that cover photography gear, especially if your tripod or camera is on the more expensive side.
- Research Power Adapter Requirements: If you’re traveling outside the United States, don’t forget a compatible power adapter for your camera battery charger. This will ensure your camera is charged and ready to go, even in destinations with different power outlets.
- Consider a Portable Storage Solution: If you plan on taking a lot of photos, consider a portable external hard drive or cloud storage device to back up your photos along the way. This keeps your memory cards clear and prevents any accidental loss of photos from your camera.
Final Thoughts
Taking a tripod on a plane can be simple when you’re prepared. By knowing TSA and airline guidelines, you’ll know how to pack, navigate security, and handle airline rules. Following these steps lets you travel confidently with your camera gear, ensuring it’s safe, accessible, and ready to capture memorable moments.
With the right preparation, your tripod and photography equipment can become a seamless part of your travel experience. Safe travels, and happy shooting!


